Proxmox + Qbittorrent + Wireguard + Samba LXC
A google search for how to create this type of container will bring up a bunch of malarkey. It doesn’t have to be that complicated. You can set this up in a few minutes super easily. The result is an extremely lightweight and effective torrent box that you can control remotely. It works great on very modest hardware even with lots of traffic flowing.
First, spin up a container. #
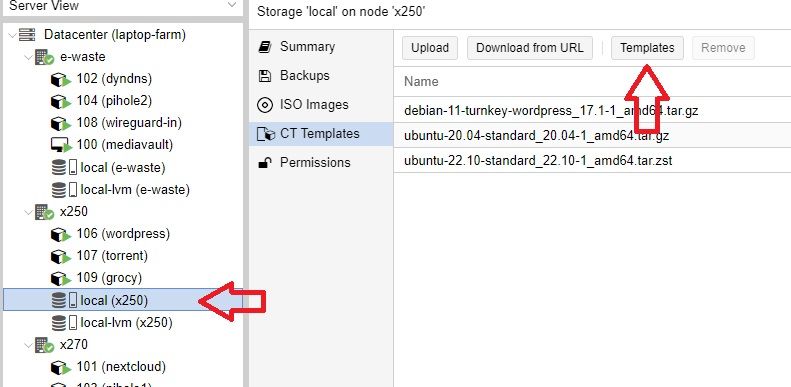
Click on the local storage of one of your nodes, go to container templates, and click the Templates button. I am using the ubuntu 22.10-standard template, only 129mb.
After downloading the template, right click your node and create the container. On the first page, make sure to uncheck ‘unprivileged container’ so that we will have full write access to the samba share. If you are storing files some other way, you can leave it unprivileged. (You can also achieve write access to cifs shares with an unprivileged container through user mapping if you so choose.)
Select the ubuntu template on the next page. I went with the defaults for all the other options except 2 cpu cores and a static IP address.
Start the container! #
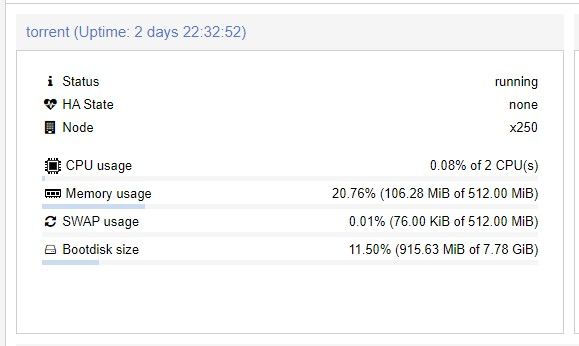
Now we can start the container and do some stuff.
First, login with username root and the password you set during creation. Update everything with
apt update && apt upgrade -yThen, we need to install a few things
apt install wireguard wireguard-tools curl qbittorrent-nox cifs-utils iftopSince we installed cifs-utils in the last step, let’s go ahead and mount the network share. Edit your fstab file:
nano /etc/fstabI have created a user on my NAS named qbit for this service and added it to the samba permissions. It only has access to a folder for downloads. My fstab looks kinda like this:

ctrl + X to save, then type reboot.
The share should mount on reboot. If not, check for errors with journalctl -b
Let’s dig a wireguard tunnel #
Now you need to log into your VPN provider of choice and download your wireguard configuration. One easy way to do this would be to drop it on your NAS if you have connected one in the last step.
Navigate to wherever you put that config file so we can move it to its final resting place. Below, mine is named wireguard-vpn.conf:
mv wireguard-vpn.conf /etc/wireguard/wireguard-vpn.conf && cd /etc/wireguard && lsLet’s see if that bad boy works:
wg-quick up wireguard-vpn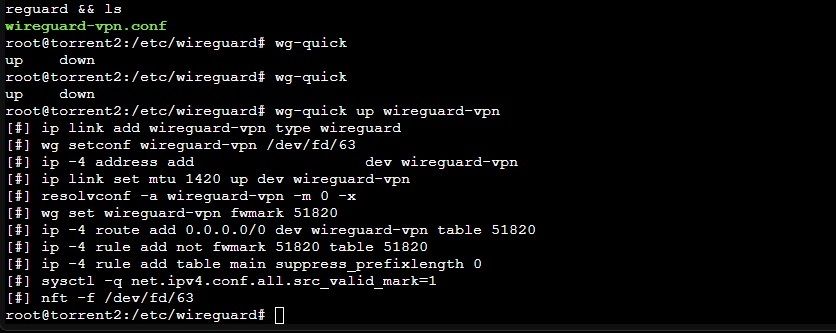
If you connected successfully, typing ip addr show will list a new tunnel interface at the bottom with your VPN IP!
Now make it reconnect automatically on reboot:
systemctl enable wg-quick@wireguard-vpnReboot and hit it with another ip addr show to make sure we’re still connected to the tunnel!
Enable qbittorrent-nox #
We’re on the home stretch! Now make a service that will start qbittorrent-nox automatically on boot:
nano /etc/systemd/system/qbittorrent-nox.serviceWe’ll keep it super simple:
[Unit]
Description=qBittorrent-nox service
Documentation=man:qbittorrent-nox(1)
Wants=network-online.target
After=network-online.target nss-lookup.target

[Service]
Type=exec
ExecStart=/usr/bin/qbittorrent-nox

[Install]
WantedBy=multi-user.target
Now enable it and reboot to see if it works:
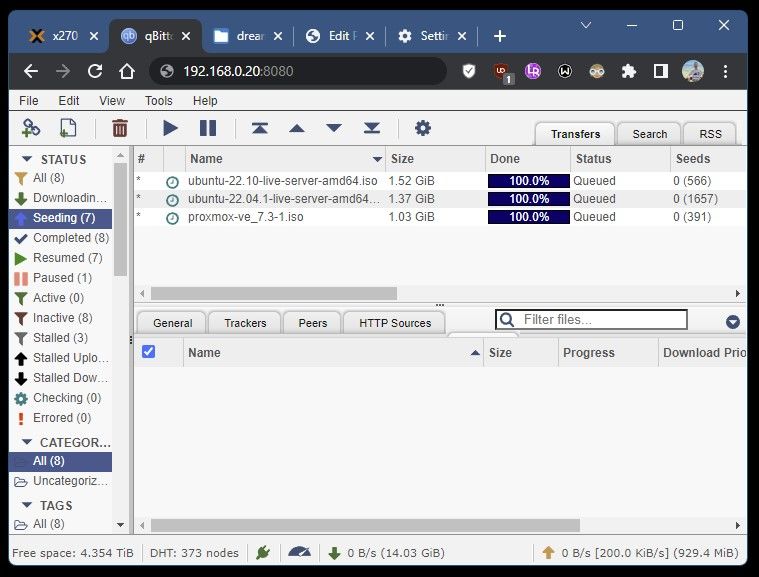
systemctl enable qbittorrent-nox && systemctl daemon-reload && rebootDid it work?? You can try it by opening your web browser and typing in the local IP of the machine followed by port 8080!
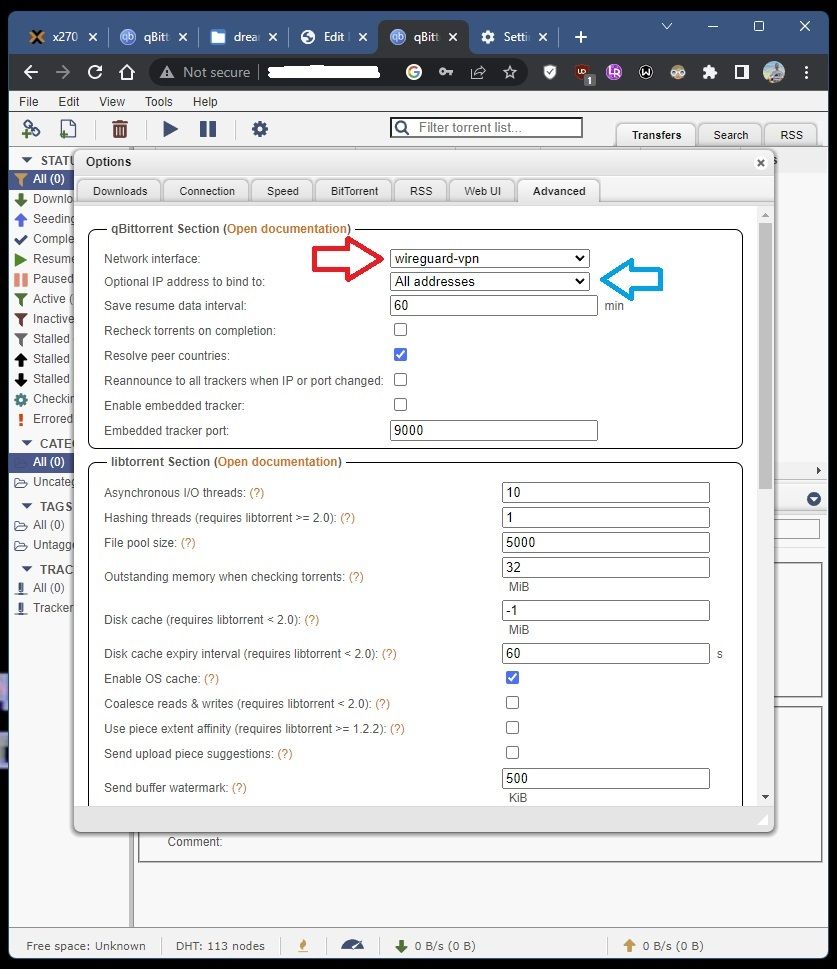
Bind Qbt-nox to wireguard interface #
Last step! Go to Tools -> Options -> Advanced and set the client to ONLY use the wireguard tunnel that we have created. If your VPN provides you a static IP, you can optionally set the client to ONLY use this IP as well.
Now set your download folder to your samba share in the Downloads tab.
That’s it! Now you can log in through this web interface from now on. You never have to access the container directly again. Add torrents by copying and pasting the magnet links into the webui from your phone or any other device!
Ensure that traffic is flowing through the wireguard tunnel as expected by running the iftop utility we downloaded earlier.